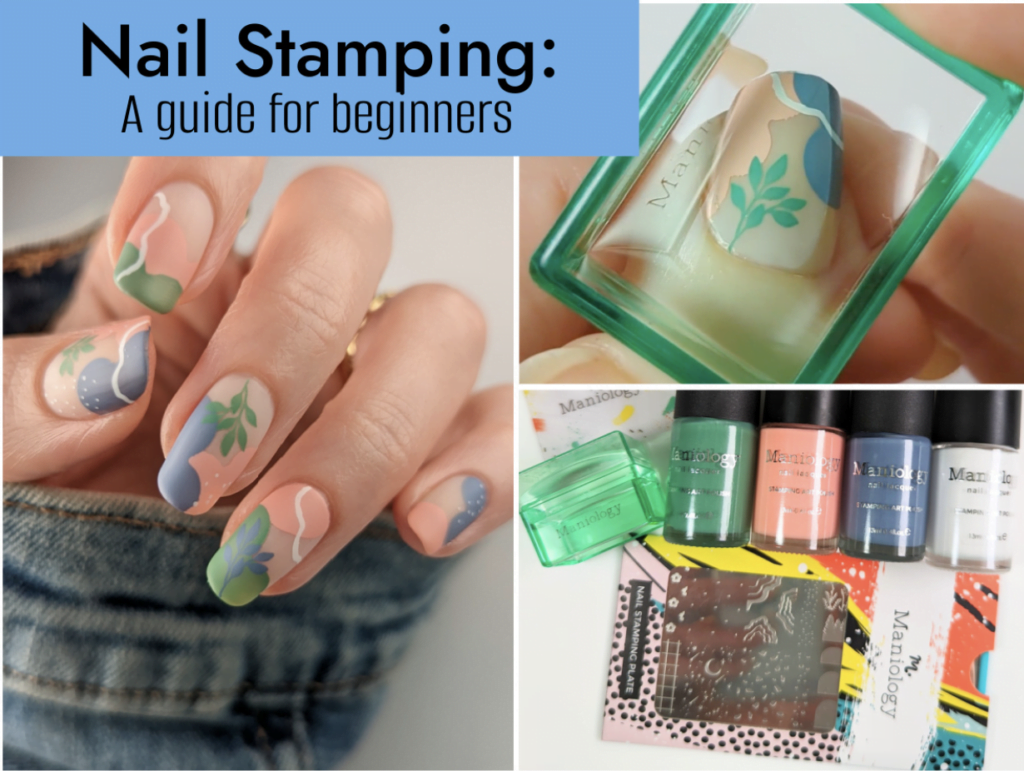
What is Nail Stamping?
As an Amazon Associate, I earn from qualifying purchases. This post may contain affiliate links. See our full disclosure here.
Nail stamping is a fun and easy way to express your creativity through nail art! There are endless designs, patterns and images available to suit any style or mood. Stamping plates can be used over and over again allowing you to create new manicures as often as you’d like! Even beginners can master the art of nail stamping by following a few simple steps, you can easily create intricate nail art in minutes using nail stampers. Keep reading to see how nail artist Tessa Pierce creates her amazing nail art designs using nail stamps.
Nail Stamping Tools
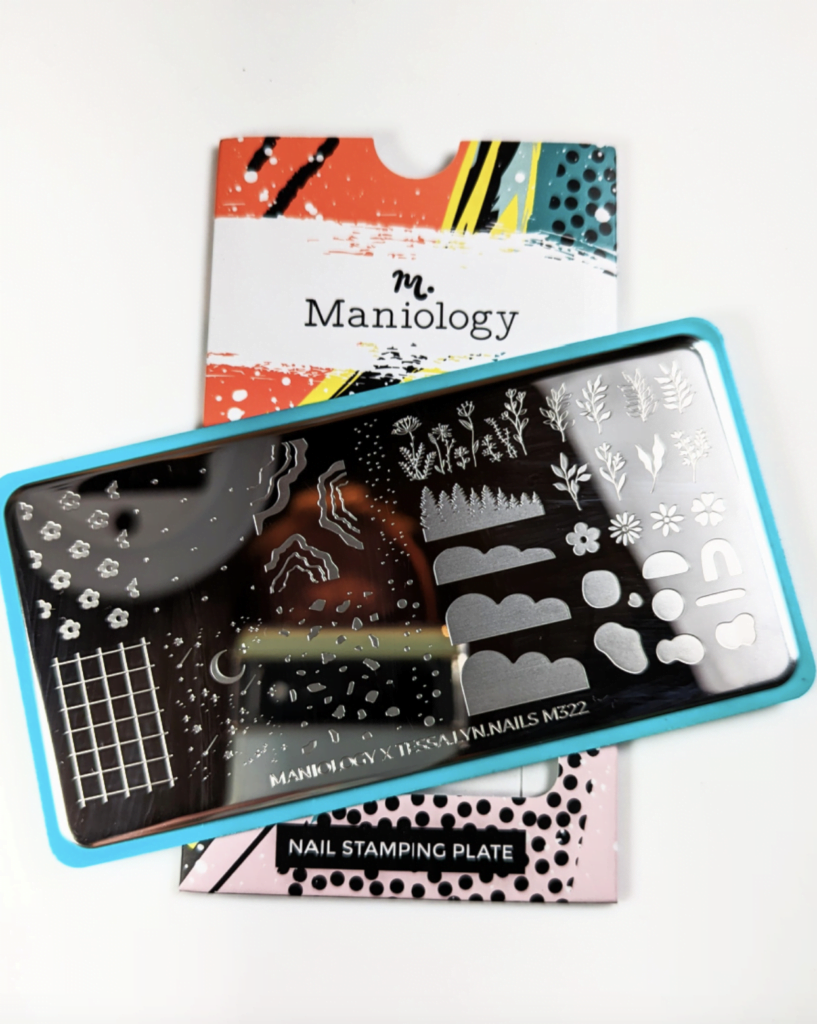
Steel Stamping Plates
These shallowly etched plates come in numerous styles, patterns and themes. Clean them with acetone and use them over and over again.
Special Stamping polish
Although some regular nail polish can be used for stamping, specifically designed stamping polish will yield the best results. This thicker polish is more opaque than regular polish so that you can achieve dark, crisp images.
Stamper and Scraper
Stampers are made of squishy silicone and can be opaque or transparent, allowing you to see where to place the stamp on your nail. The included scraper card is a thin piece of plastic (similar to a credit card) that is used to scrape across the image, removing excess nail polish and filling in the small etched design to then be picked up by the stamper.
- Lint roller: cleans the silicone stamper
- Acetone: cleans the stamping plate
- Water-based top coat: protects your design from smudges when applying top coat.
Glossy or Matte Top Coat: seals in your design and creates a smooth surface.
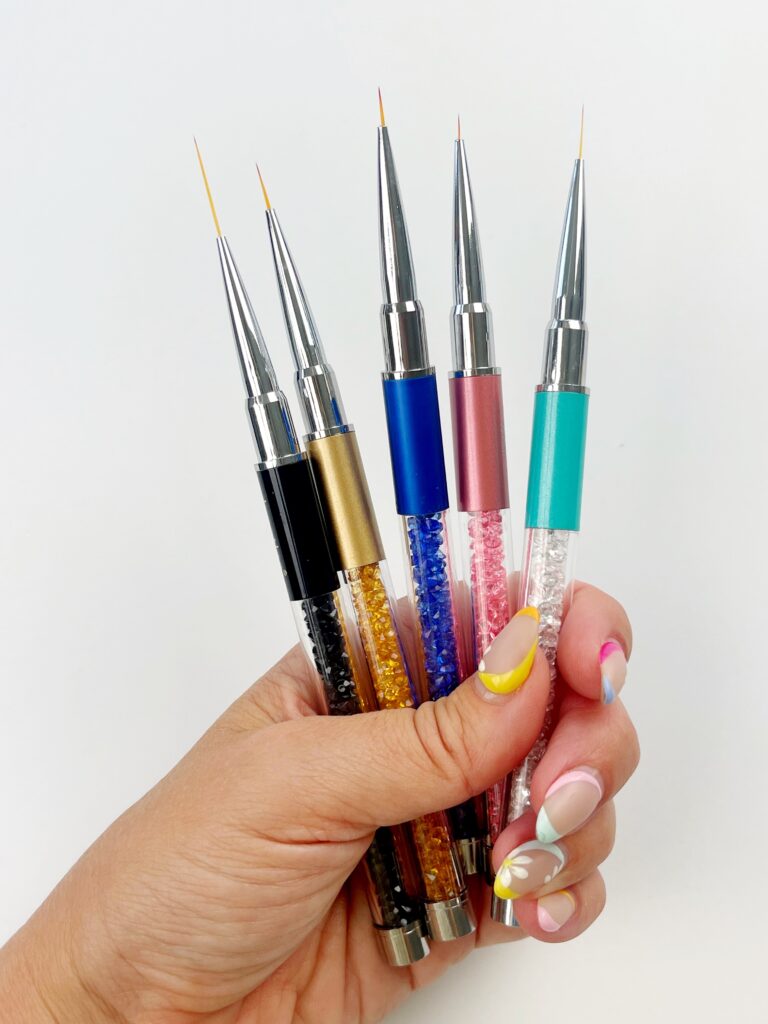
You might also like: Best Nail Art Brushes for Beginners
Simple Steps for Nail Stamping
Nail stamping is a fun and super easy way to create cool nail art without too much practice! Here’s how you can give yourself a DIY stamped nail manicure right at home.
- Gather all the necessary tools before you start.
This is essential because you need to move quickly through the process to prevent the image from drying.
- Make sure your nails are prepped.
Apply a clear base coat.
- Cover the chosen design on the stamper plate with an ample amount of stamping polish.
(too much is better than too little)
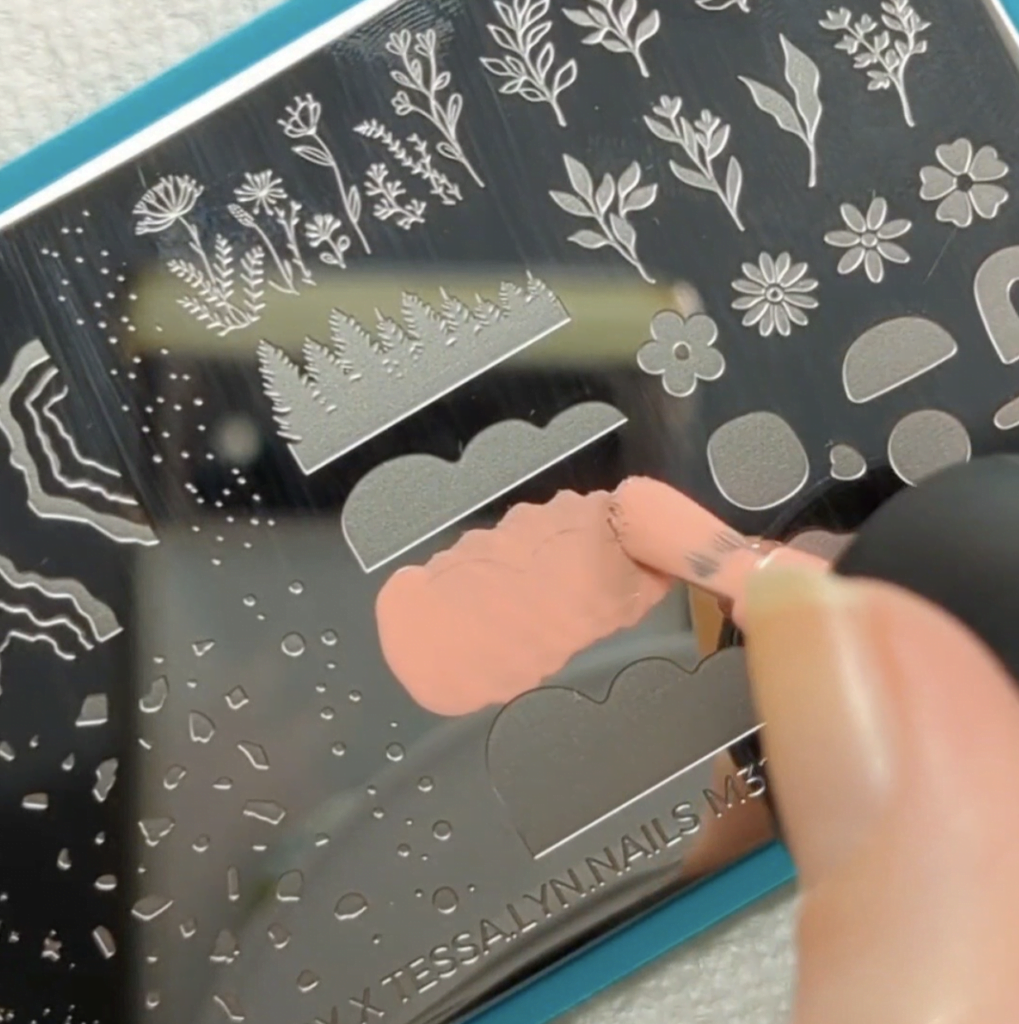
- With stamper and scraper in hand, scrape across the image with the scraper card once with medium pressure.
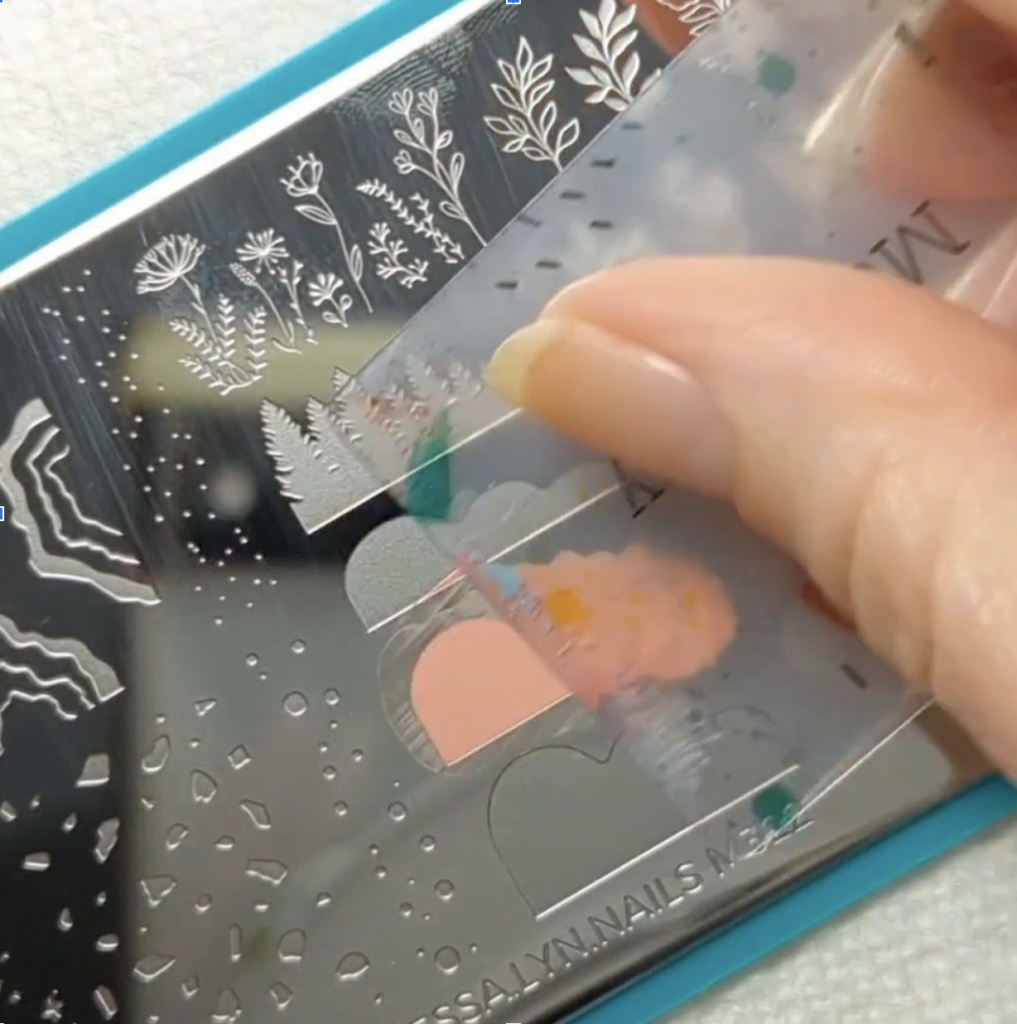
- Next, quickly use a smooth rolling motion to pick up the image with the stamper.
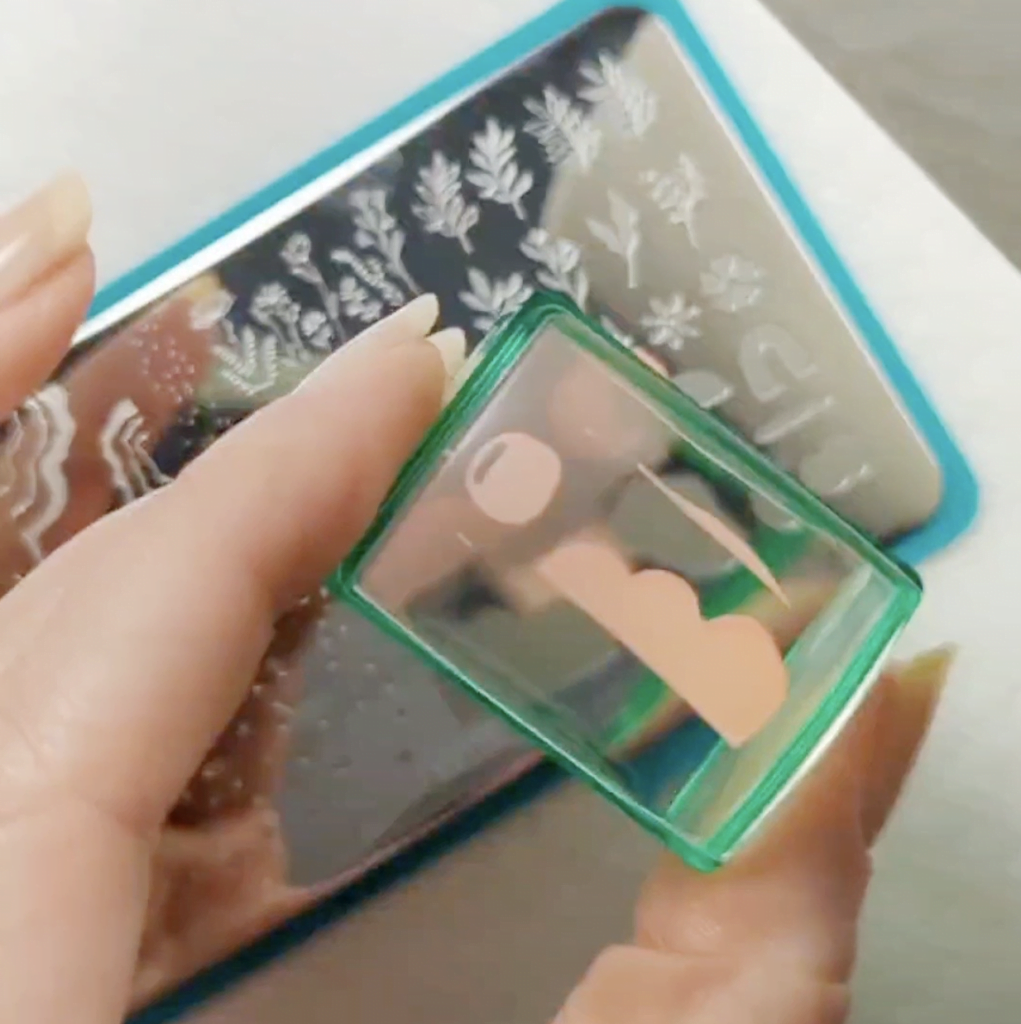
- Position the image over your nail and press down firmly, rocking the stamper side to side to make sure all sides are adhered to the nail.
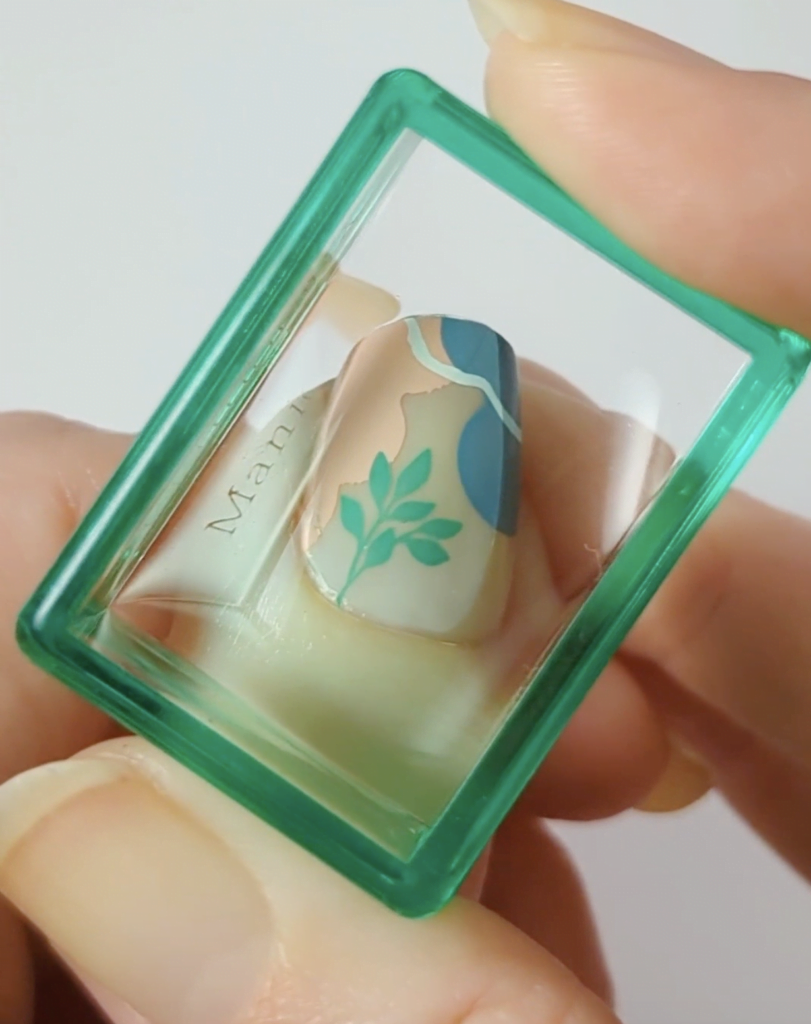
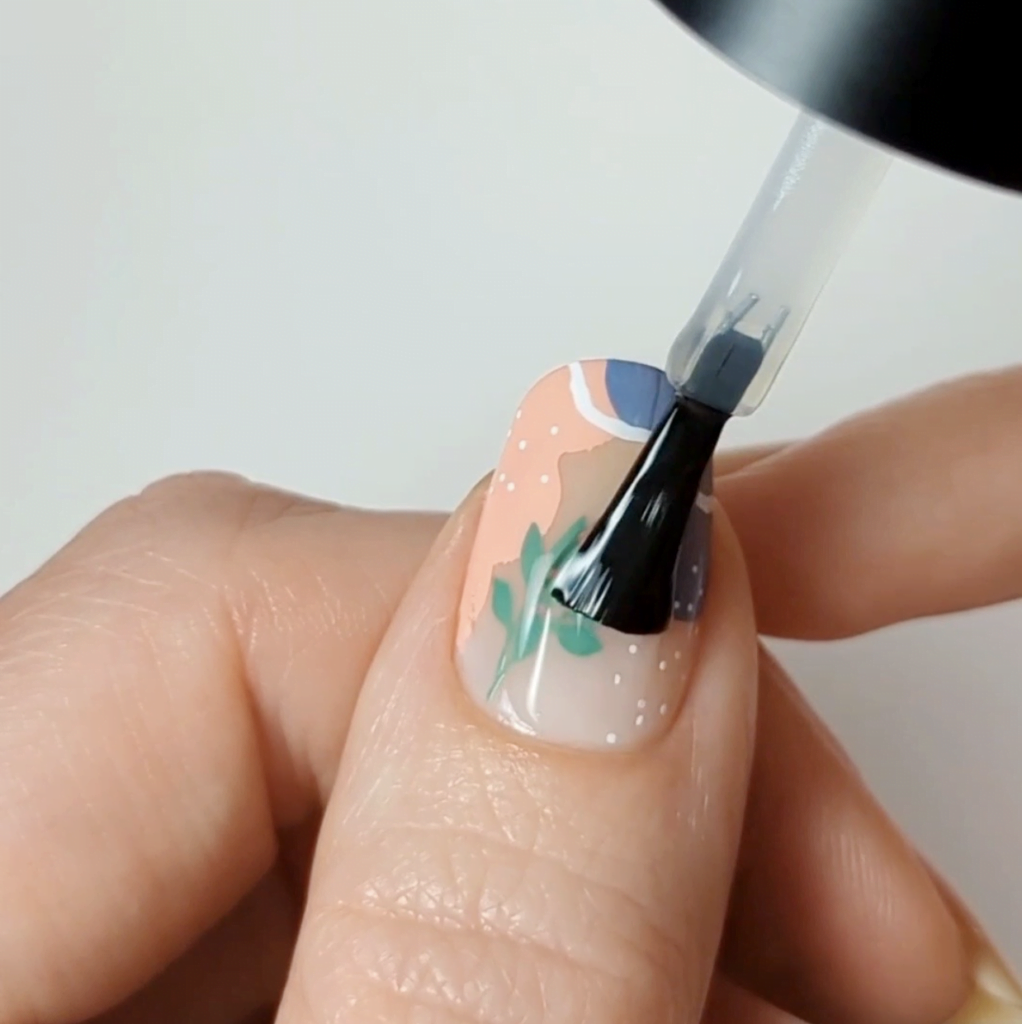
- Finish your manicure with a water-based top coat (this will prevent your art from smearing).
Once dry, add a layer of clear topcoat to seal in your design.
Nail Stamping Tips and Tricks
- Make sure to move quickly! The time between scraping, picking up the image and placing it on your nail should ideally be about 10 seconds. If you need more time, try using a layer of sticky base coat first. This product will create a sticky surface on your nail and give you more time to transfer the image, even if it has dried on the stamper.
- Use plenty of polish on the image before you scrape. If you find patches or missing spots in your image, you may not have used enough polish. This is especially true for images that have a lot of negative (etched) space that needs to be filled.
- Try scraping and picking up in different directions. Not all images work the same way. For example, if there are stripes in your image, scrape parallel with them to fill the holes vs. against them where the scraper may dig polish out of the image.
- Only use 100% acetone and cotton balls/rounds to clean stamping plates. Any removers with additives will create an oily surface and interfere with pickup.
- Use a lint roller or tape to clean your stamper. NEVER use acetone or polish remover, which will damage the silicone and cause clear stampers to cloud.
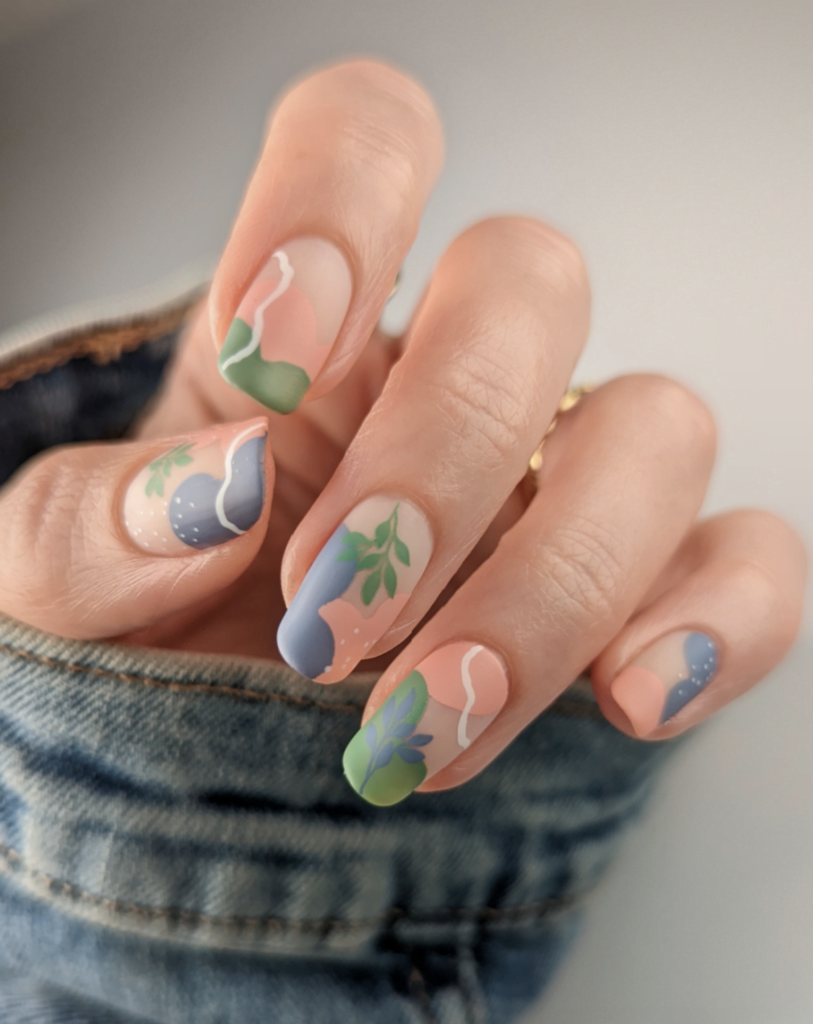
About the Author:
Tessa Pierce (IG @tessa.lyn.nails) is a self-taught nail artist who enjoys creating colorful and unique manicures at home. Her artistic journey started with nail stamping and has since grown to include multiple techniques and styles. She loves finding new ways to display her creativity through nail art and is especially drawn to abstract design.